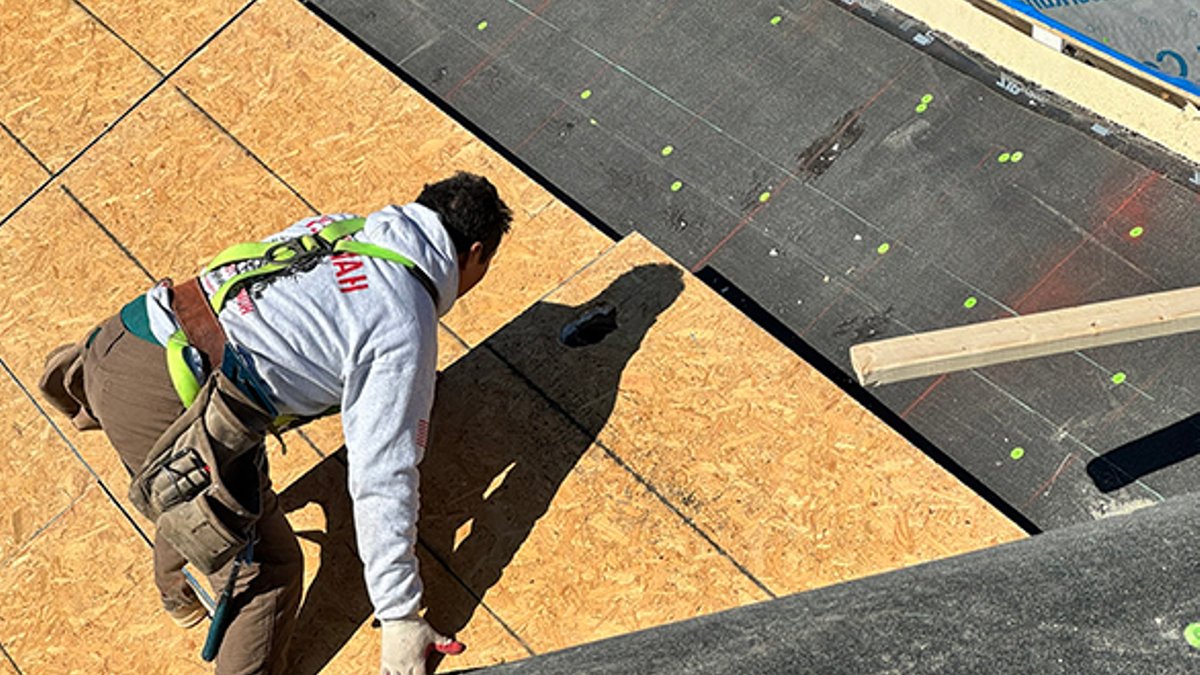
A homeowner in northern Virginia faced a persistent issue: their upstairs remained uncomfortably hot during summer, even after a recent primary bathroom renovation. The problem stemmed not from inadequate insulation but from the home’s cathedral ceiling, whose wood-paneled design was too cherished to remove. This constraint led the team to adopt an unconventional solution—installing a vented nailbase overroof, a method typically used in commercial roofs or low-slope structures.
The approach integrated three objectives into a single installation: reducing summer heat, maintaining proper ventilation, and creating a stable foundation for new shingles. Traditional insulation methods would have required assembling separate layers of foam, sheathing, and ventilation strips. Instead, the team chose pre-built vented nailbase panels, which combined all three components into one product. This simplified the process while directly addressing the home’s specific challenges.
Vented nailbase systems are not new; they are standard in commercial roofing. These systems use rigid insulation boards laminated to sheathing with built-in standoffs that create airflow channels. For this project, the team selected AC Foam Cross Vent panels, featuring foam strips spaced between the insulation and oriented strand board (OSB) sheathing. These strips form 1-inch ventilation cavities running from soffit to ridge vents, with additional channels allowing lateral airflow. This cross-ventilation was essential in the home’s design, as valleys—where two roof slopes meet—would otherwise obstruct airflow entirely.
Why Vented Roofs Outperformed Unvented Options
The decision to use a vented system over an unvented one was driven by three factors. First, ventilation helps reduce heat buildup, though its effect is limited. Second, cooler shingles may prolong their lifespan, though industry experts remain divided on the significance of this benefit. Third, and most practically, vented roofs handle minor leaks better than unvented ones. As one roofer noted decades earlier on a trade forum, “All roofs leak, especially at the end.” A vented system allows leaks to dry out without causing damage.
The installation began with marking rafter locations and aligning the panels with precision. The crew used the manufacturer’s engineered screws, which cost $500 per box, nearly four boxes were required in total. These screws were necessary because the original roof sheathing consisted of only ½-inch plywood, too thin to support the fasteners alone. Driving them into the framing below demanded careful measurement to ensure proper placement.
Two unforeseen challenges arose during installation. First, the 24-inch spacing of the vent strips on the panels did not align with the home’s 16-inch-on-center framing. As a result, two-thirds of the fasteners landed between the strips, risking bent sheathing if overdriven. The crew exercised caution, briefly considering custom panels before abandoning the idea due to potential complications and increased labor costs. Ultimately, they ran short on panels, forcing them to complete the job using standard insulation components instead of sticking to the pre-built system.
Read Also: Best early Black Friday deals start appearing now
Custom Cuts and Valley Challenges
The most complex adjustments occurred at the roof valleys. Unlike thin sheathing, which can be butted together at intersections, the 4½-inch-thick vented nailbase panels required precise bevel cuts. A carpenter first made rough cuts with a circular saw, then refined them with a handsaw, a process demanding exact precision. Errors here could have created gaps or weak points in the roof assembly.
Additional modifications were needed around skylights, plumbing vents, and dormers. The team extended skylight curbs above the new sheathing layer and re-flashed the chimney, steps standard in reroofing projects in the region. At roof-wall intersections, they trimmed vertical siding to accommodate the thicker panels, though most affected areas were below windows scheduled for replacement. This simplified the process, as the siding could be removed, flashed, and reinstalled at the correct height.
To prevent new issues, the team ensured proper air sealing. The original roof sheathing had numerous holes from multiple layers of shingles. Before adding the vented nailbase, they installed a self-adhered ice membrane across the entire roof. This membrane served multiple purposes: acting as an air barrier, being familiar to the crew, and providing protection during unexpected snowfall mid-project. It also created a backup layer in case future leaks penetrated the insulation.
Balancing Insulation and Air Sealing
While two layers of foam are often recommended for continuous thermal barriers, the ice membrane and ventilation space allowed them to use a single layer with confidence.
Coordination between three trades, roofers, carpenters, and siding installers, introduced logistical challenges. The roofing crew first removed existing shingles and applied the self-adhered ice membrane over the entire deck, sealing gaps and holes from prior installations. They then paused to allow the carpentry team to install the vented nailbase panels, which required precise alignment with the framing and careful handling around skylights, plumbing vents, and dormers. The siding crew followed to address the thicker panels at roof-wall intersections, trimming and reinstalling siding where necessary.